
No-Bake Rocky Road Avalanche Bars + VIDEO
Best Ever No-Bake Rocky Road Avalanche Bars are my latest obsession. I have made them at least 12 times and everyone raves about them. A simple recipe with chocolate and peanut butter with a candy crunch that comes together in a snap? Sign me up, twice!
With the perfect balance of chocolate and peanut butter, these no-bake bars are utterly addictive.
Soft, billowy marshmallows and crispy rice cereal come together with the rich and creamy chocolate peanut butter candy filling to create this memorable dessert.
No-fuss desserts are our thing, and as much as we love sharing them with our family and friends, we sometimes have to make extra because we can’t keep our hands off them!
We are so excited about our cookbook! We are thrilled to announce that it is now it it's second printing so if you have had a hard time finding it, check online at Amazon or Barnes and Noble they should have them in stock.
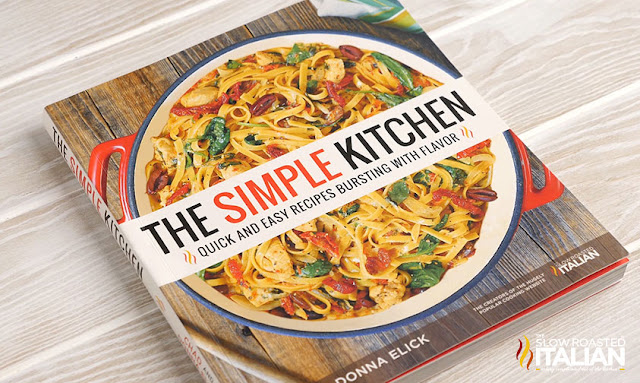
Speaking of simple recipes, of course our new cookbook {The Simple Kitchen - available to order now}is packed with delicious, easy recipes.
The Simple Kitchen is loaded with more than 75 BRAND NEW recipes and a hand full of family favorites too.
8 chapters with a total of 82 quick and easy recipes that are bursting with flavor!!!
Every recipe has a photo that will make your mouth water. It has slow cooker meals, one-pot recipes, quick dinners, simple appetizers, desserts and more!!!
And we have included kitchen tips to make dinnertime less stressful.
We are so excited to share our recipes with you!!! So, don't wait. Go and grab yours today! The Simple Kitchen <-- click here to order.

Helpful Tips to make No-Bake Rocky Road Avalanche Bars:
- You can refrigerate the pan if your kitchen is too warm, or, if you are impatient like me, pop them in the freezer for 20 minutes.
What you will need to make No-Bake Rocky Road Avalanche Bars:
- 9 x 13-inch Baking Pan- I have my favorites and this set is one of them. The 9x13 is perfect for casseroles and the smaller size is awesome for making 1/2 a casserole recipe.
- Mixing Bowl - I like a variety of mixing bowls and prep bowls and this set has them all.
Enjoy!
With love from our simple kitchen to yours.
Do you ❤ love ❤ TSRI? Don't miss another recipe. Click here to Subscribe to by Email and receive new recipes in your inbox every day!

Check out more of our favorite no-bake recipes:
Strawberry Shortcake No-Bake Icebox CakeExtreme Reese's Peanut Butter No-Bake Pie
No-Bake Avalanche Cookies
10 Minute Microwave Peanut Brittle
See how easy this No-Bake Rocky Road Avalanche Bars is to make. Watch the video!!!
Yield: 24

No-Bake Rocky Road Avalanche Bars
No-Bake Rocky Road Avalanche Bars are my latest obsession. A simple recipe with chocolate and peanut butter with a candy crunch that comes together in a snap? Sign me up, twice!
prep time: 30 minscook time: total time: 30 mins
Ingredients
- 16 ounces chocolate-flavored candy coating (I use Almond Bark or Candiquik)
- 2 cups semisweet chocolate chips
- 4 ounces Bakers German’s sweet chocolate bar, broken into chunks
- 1 (16.9-oz) jar super chunky peanut butter
- 3 cups crispy rice cereal
- 3 cups mini marshmallows
- 1/2 teaspoon salt
Instructions
- Line a 9 x 13-inch baking pan with parchment paper or aluminum foil sprayed with non-stick cooking spray.
- Melt the chocolate candy coating, chocolate chips and German chocolate in a large heatproof bowl. Microwave at half power for 30 seconds at a time until melted and smooth, stirring after each interval.
- Stir the peanut butter into the warm chocolate until melted and smooth. Add the rice cereal, marshmallows and salt and stir to combine.
- Pour the mixture into the prepared pan. Allow it to set in a cool place until firm.
- You can refrigerate the pan if your kitchen is too warm, or, if you are impatient like me, pop them in the freezer for 20 minutes. Once they are solid, cut them into 24 pieces.
- Store in the refrigerator.

Disclosure: Posts may contain affiliate links. If you purchase a product through an affiliate link your price will remain the same and will automatically receive a small commission. Thank you for supporting us, it helps us keep creating new recipes. Sumber https://www.theslowroasteditalian.com


")


